Tag: climbing

  • Wednesday Workout: Backyard Climbing Endurance and How to Make Your Own Wall

    Wednesday Workout: Backyard Climbing Endurance and How to Make Your Own Wall

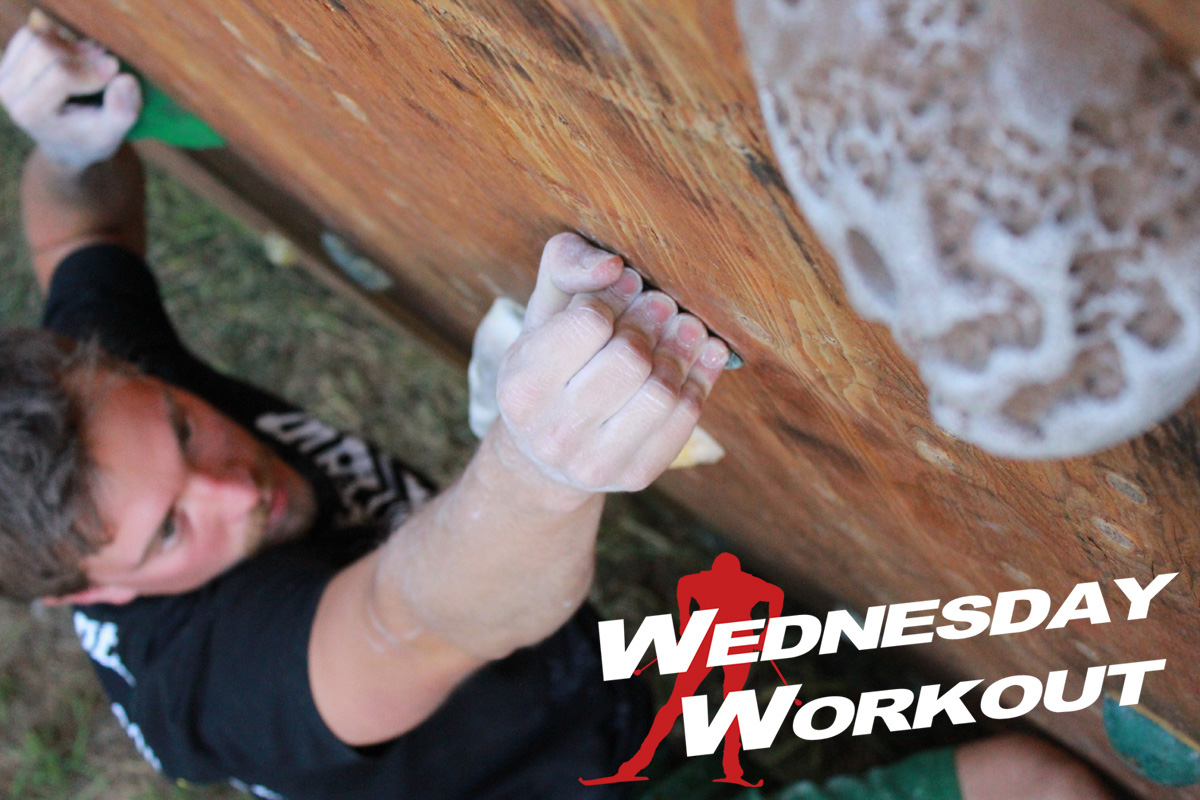
    Jason Brenden focuses on his next hold during a climb on his backyard climbing wall in Bozeman, Mont.
    Jason Brenden focuses on his next hold during a climb on his backyard climbing wall in Bozeman, Mont.

    For this week’s Wednesday Workout, FasterSkier provides a firsthand account of backyard climbing, what an endurance climbing workout entails and how to build your own backyard climbing wall.

    ***

    BOZEMAN, Mont. — A cloud of white chalk dust mushrooms from my housemate’s hands as he claps them together. The woven orange and black chalk bag he had been holding a few seconds ago now sits in the grass, next to a pair of worn-out Chaco sandals and a faded black hoodie. A quick glance at my wrist watch shows the time to be 7:20 p.m. However, with the summer solstice and a cool evening breeze on our side, there’s still plenty of daylight left for photographs and climbers’ pull-ups.
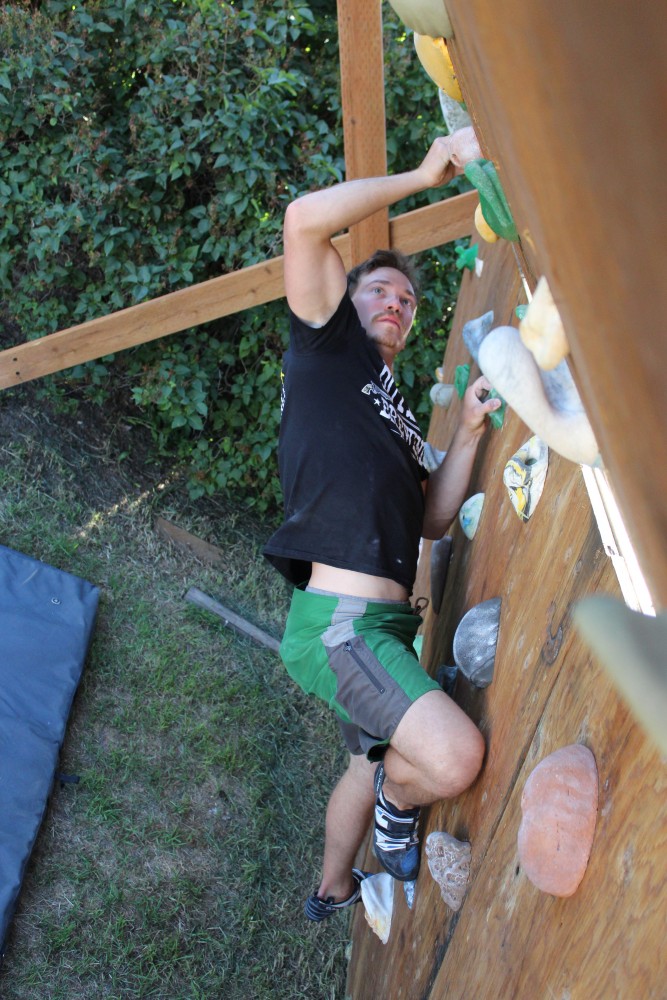
    Jason Brendan traversing the backyard climbing wall in Bozeman, Mont.
    Jason Brenden traverses his backyard climbing wall in Bozeman, Mont.

    I focus my camera lens on his right hand gripping a particularly small hold as I perch atop a homemade climbing wall erected in our backyard a little over three months ago. My housemate, Jason Brenden, originally from Grand Rapids, Minn., made it with a friend, and I decide Jason is certainly not the nordic-type.

    He is not about to start writing down what he does for workouts during the week. He does not wear spandex, nor is he about to go for a four-hour weekend run in the mountains — I’ve witnessed him slip out the front door for a jog before, only to find him re-enter 15 minutes later.

    He’s a longtime climber and a brand-new nordic skier, taking up the latter recreationally last winter.

    Camera still in hand, I make my way down the back of the climbing wall. I walk around to the front and plop down next to Jason on one of the two crash pads resting beneath the wall’s overhang. He slips off his blue-and-black climbing shoes, leans back and something like the scent of sour onions and old socks settles between us. I consider telling him we could postpone the talk until after he showers, but change my mind. I can wait it out.

    He begins telling me about a major climbing trip he is putting money aside to take one day. His favorite place to climb turns out to be Squamish, British Columbia.

    “I spent a month there two years ago,” Jason, 25, says. “Outside climbing is definitely different than inside in terms of footwork and technique. There are a lot of little holds on the rock you can use that aren’t in the gym.”

    As we continue to chat, he throws around terms like “jug”, “traverse”, and “lock-off” and I’m not afraid to admit I have no idea what any of them mean. Listening to him, I know that he and many skiers may never see eye-to-eye regarding some aspects of training. There are many training tenets on which he and I will also never find level ground.

    Yet, facing him cross-legged on the crash pad, I can see a trace of fire in his eyes and feel the heat in his tone when he talks about climbing; his frustrations with outsiders to the sport who question climber lingo (nordic translation: ever try to explain L1, L2, L3, L4, L5 target training zones to an outsider?)
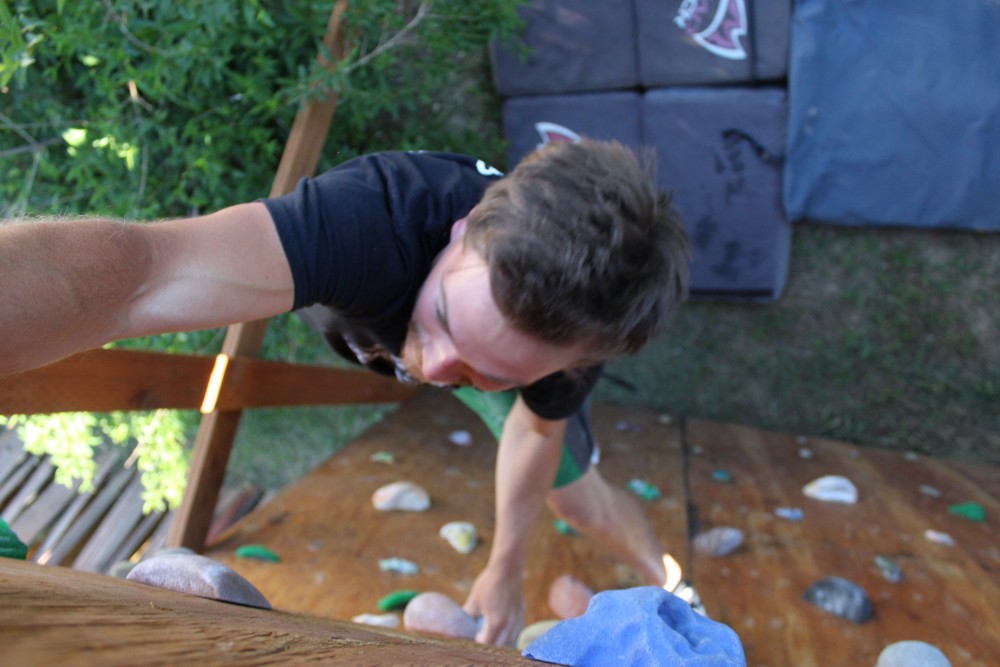
    Jason Brendan nears the top of the backyard climbing wall in Bozeman, Mont.
    Jason Brenden nears the top of his backyard climbing wall in Bozeman, Mont.

    Even if Jason takes his kale alongside a tall glass of ale (he’s a brewer at Outlaw Brewing in Bozeman) — whether he’s in-season or off — there is one characteristic he espouses similar to cross-country skiers: passion for a sport and its community. In the case of Jason, that sport is climbing.

    Like many skiers, Jason spends a lot of time watching video — the ones he watches just happen to be of people scaling rock instead of snow-covered trails. Like many skiers, Jason enjoys conversing with people who understand the sports’ jargon and draw. Like many skiers, he also appreciates the way sport creates a way to be social, to connect with neighbors, friends and new faces.

    “The best thing about having a wall in your backyard is inviting all your friends over to drink, barbeque, and climb,” he said. “That’s the real reason you build a climbing wall in your backyard. Not so much for training.”

    The Workout

    Purpose: Build endurance

    Warmup: 15-20 minutes of traversing (climbing up and down) the biggest holds, with occasional rests

    5 minute rest prior to circuit

    Circuit: 2-3 x 30 minutes of continuous climbing

    Jason says you may rest on large holds, but not to let your feet touch the ground

    8 minutes rest between each 3- minute climbing segment

    Equipment: climbing shoes, chalk, and crash pads

    Jason also suggests having “a spotter so you don’t break your ankle.”
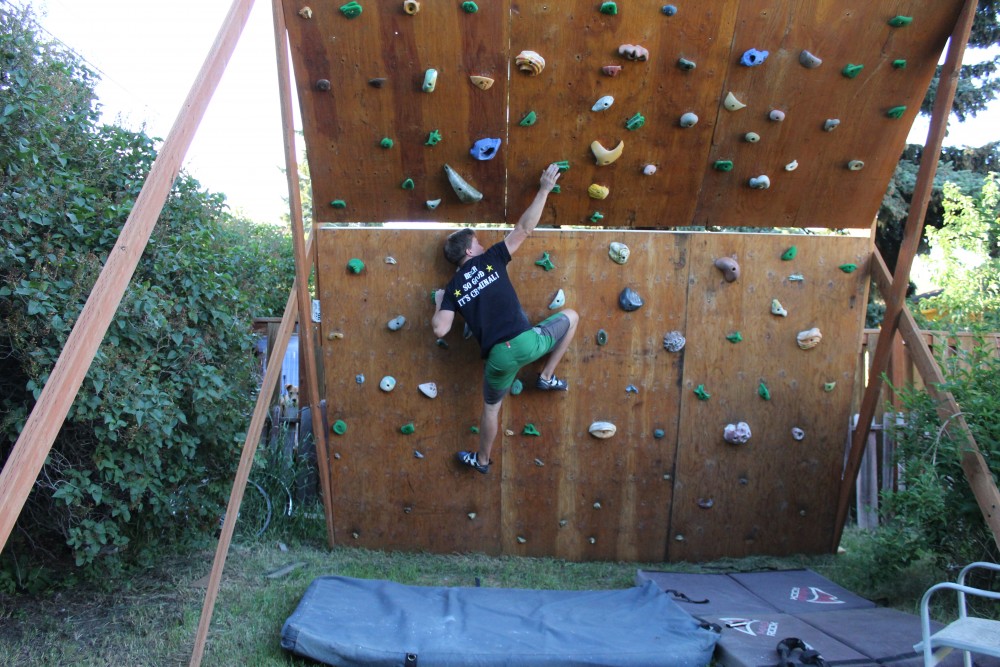
    Jason Brendan demonstrating a left-hand lock-out on the backyard climbing wall in Bozeman, Mont.
    Jason Brenden demonstrating a left-hand lock-out on his backyard climbing wall in Bozeman, Mont.

    How to Build Your Own Wall (Jason’s guide):

    Supplies: Plywood, 2 x 4 lumber, T-nuts, holds (average $5-$20 per hold)

    • Step 1: Frame out the back similar to putting up a wall in a house (We ran our 2 x 4’s horizontally instead of vertically in the back)
    • Step 2: Screw plywood sheeting into the 2 x 4’s
    • Step 3: Drill holes in the plywood (this is where your T-nuts and holds will go)
    • Step 4: Screw your holds on using the T-nuts
    • Step 5: If you want a second level, you got to get some heavy duty lumber, bolts, and get creative!

    Jason’s Building Tip:

    “You can set holds to train certain moves,” Brenden said. “For example, if you want to work on left-handed lock-offs [using tendon strength to support weight on a handhold without tiring muscles too much], you would set holds so you have to pull your left hand toward your chest while you reach with your right hand to a far away hold. The idea with that is you’re practicing moving really slowly, training those muscles to lock your body off and make a controlled move.”
  • Wednesday Workout: L4 Uphill Rollerski Intervals with Mary Rose

    Wednesday Workout: L4 Uphill Rollerski Intervals with Mary Rose

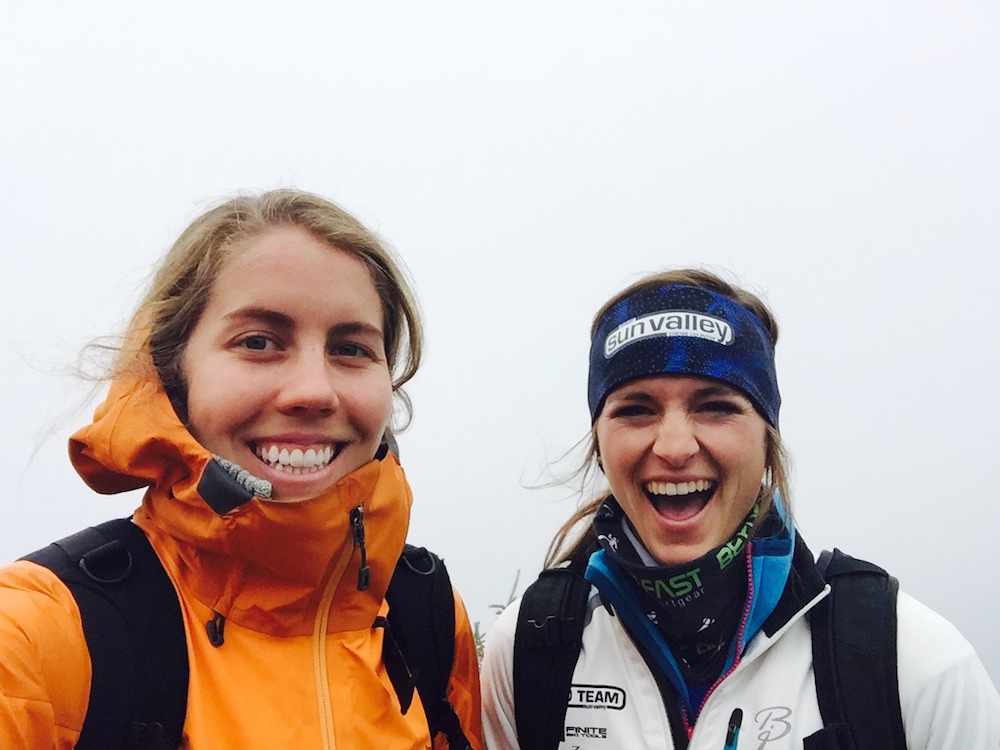
    The Sun Valley Ski Education Foundation (SVSEF) Gold Team hiking down from Mount Mansfield, Vermont's highest peak, in early September. (Photo: Paige Schember)
    The Sun Valley Ski Education Foundation (SVSEF) Gold Team hiking down from Mount Mansfield, Vermont’s highest peak, in early September. (Photo: Paige Schember)

    For this week’s workout, we turned to Mary Rose of the Sun Valley Ski Education Foundation (SVSEF) Gold Team. On Sunday, Rose, 24, won the ninth-annual Climb to the Castle by 32 seconds over US Biathlon’s Annelies Cook. After two weeks of dryland training on the East Coast, first with the Stratton Mountain School (SMS) T2 Team in Vermont, then with the National Elite Group (NEG) and U.S. Ski Team in Lake Placid, N.Y., Rose sent us this workout — Level 4 uphill rollerski intervals — from her travels. 

    ***

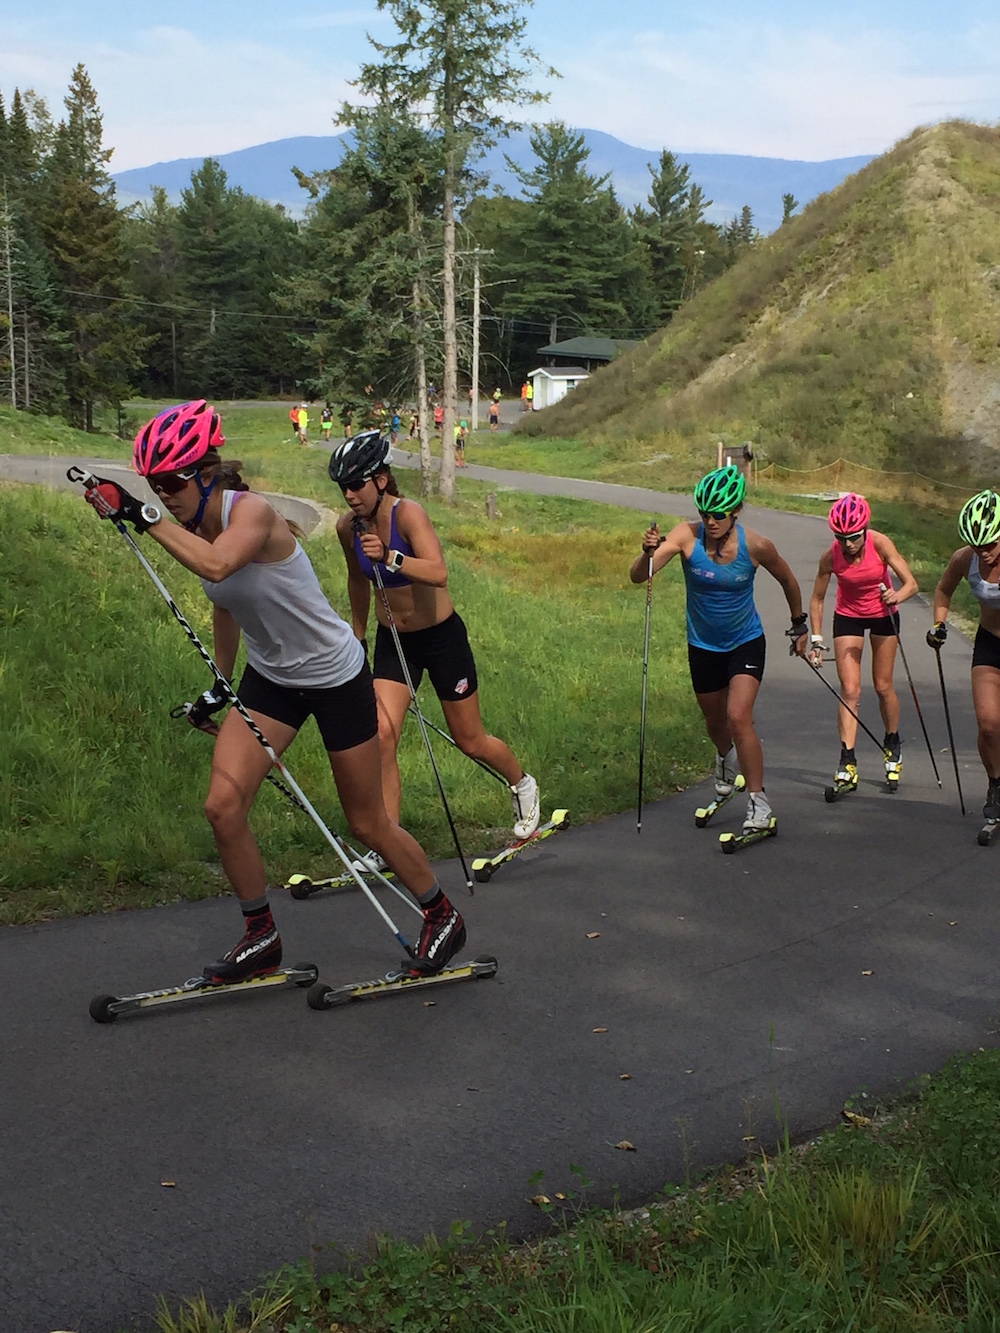
    Sun Valley's Mary Rose (l) leads Katherine Ogden (SMST2/USST), Annie Pokorny (SMST2), Erika Flowers (SMST2), and Paige Schember (SVSEF) during a sprint simulation at the Olympic Jumping Complex rollerski trails in Lake Placid, N.Y. (Photo: Colin Rodgers)
    Sun Valley’s Mary Rose (l) leads Katherine Ogden (SMST2/USST), Annie Pokorny (SMST2), Erika Flowers (SMST2), and Paige Schember (SVSEF) during a sprint simulation at the Olympic Jumping Complex rollerski trails in Lake Placid, N.Y. (Photo: Colin Rodgers)

    Every individual has his or her strengths and weaknesses when it comes to cross-country skiing. It is important to train your weakness because there is usually a lot of room for improvement.

    The Sun Valley SEF Gold Team spent two weeks out East in Stratton, VT and Lake Placid, NY for a low-elevation training block. This camp was extremely productive for all of us because we were able to train some of our weaknesses: speed and pacing at low elevation, and rollerskiing in steep terrain.

    One of the most beneficial workouts during this training block was a Level 4 uphill rollerski interval session. This is a great session if you don’t have a strong V1, are not strong climbing in skate, or if you need to build capacity in your legs. For me, this was an important workout because living in Sun Valley, ID, we lack the super steep, sustained uphill terrain (for rollerskiing) that can be found on the east coast. This is ironic, I know but the roads in Sun Valley are in the bottoms of the valleys and there are not very many of them.

    The Workout: Uphill Rollerski 4-6 x 4 minutes at L4

    Where: Find a location that offers a long uphill climb (8%-10% grade)

    Warmup:

    • Rollerski easy (Level 1) for 20-25 minutes. Start the warmup on rolling terrain and then gradually move onto steeper terrain to get the body used to climbing.
    • Do 5-10 minutes of mobility/stretching exercises, targeting every major part of your body. This part of warmup is important to help get the blood flowing to all parts of your body and to get all the muscles ready to work hard. Think of this as injury prevention!
    • Rollerski easy for an additional 5-10 minutes.
    • During warmup focus on where you can make technique gains and apply that to the workout.

    Now the fun part: 4-6 x 4 minutes at Level 4.

    The first interval should start at threshold (Level 3) or right above it and gradually work into Level 4. Take full recovery (4 minutes) between each interval. Make sure to ski very easy during the recovery. Intervals 2-6 should be at a solid Level 4 the entire time.

    Try to complete at least four intervals, but listen to your body and take a moment to assess where you are at. If you feel completely drained and your technique has taken a turn for the worse or your pace has dropped off, call it a day and cool down.

    Cool down: Should consist of 15-20 minutes of easy skiing.  Once your cool down is complete, you should hydrate, eat and sleep!

    During this workout, I did a total of five intervals and left one in the tank, meaning that I could have done one more quality interval, but I held back due of the amount of intensity sessions I had already done that week and the amount of intensity sessions yet to come.

    You want to feel good for all of the intervals, so remember that before pushing yourself too much. There is no need to do all six intervals if you are feeling tired. In this case, less is more. Important thing to remember is that ALL the intervals should feel great!

    Sun Valley Gold Team members Paige Schember and Mary Rose after the 2015 Climb to the Castle on Sept. 20. (Photo: Mary Rose)
    Sun Valley Gold Team members Paige Schember and Mary Rose after the 2015 Climb to the Castle on Sept. 20. (Photo: Mary Rose)
  • Wednesday Workout: Fast, Uphill V2

    Wednesday Workout: Fast, Uphill V2

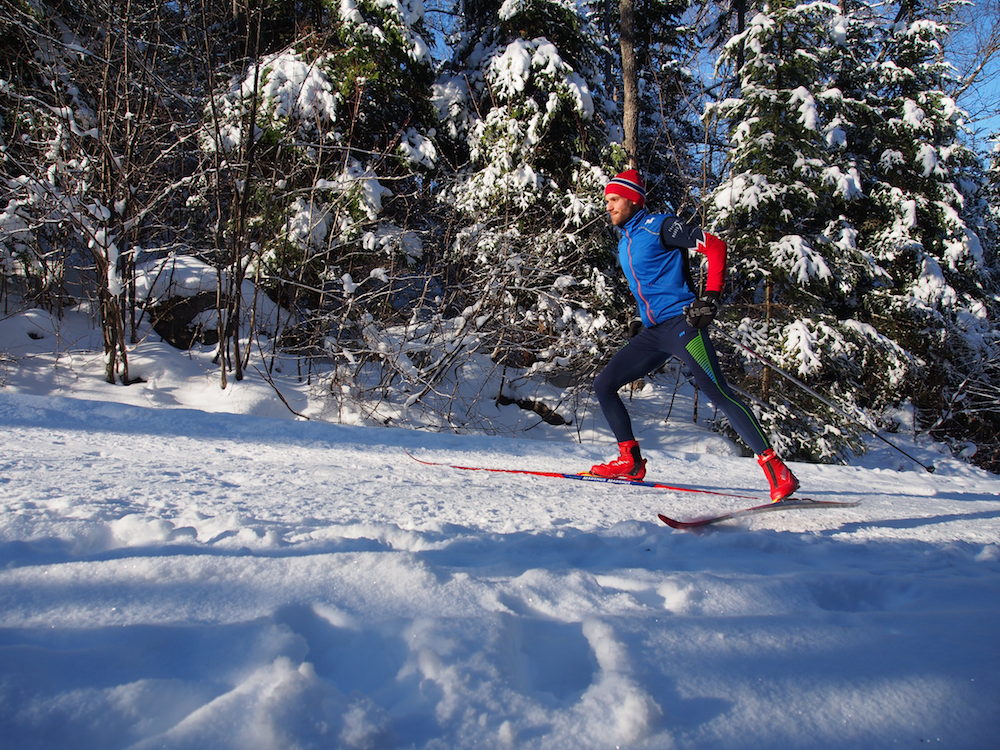
    Author François Léger Dionne concentrates on short, fast V2 strides at L3 intensity.
    Author François Léger Dionne concentrates on short, fast V2 strides at L3 intensity at the Far Hills Ski Center in Val-David, Quebec.

    This week, our focus shifts to a common theme amongst racers and trainers: uphill V2. Just like double poling is the go-to technique for most skiers in World Cup classic races  — watch those motionless legs during classic sprints and even throughout the 90 kilometres of Sweden’s legendary Vasaloppet! — V2 technique has really become their freestyle mainstay. And while we generally switch to V2 on flats and slight uphills, there are many benefits of using it on steeper climbs.

    For V2 to be effective on uphills, it is crucial to shorten the stride and increase the tempo. Forget long, smooth gliding on each ski. Don’t worry about full-arm extension when poling. Take the load off the triceps and focus instead on stabilizing the shoulders with the lats muscles. This will enable faster arm movements and a quicker reset between each push-off. The arms and upper body should dictate the pace of the V2 strides. Legs and hips should in turn follow and be the true power source of the technique.

    Let the power come primarily from the legs and hips; the arms should dictate the pace. Author François Léger Dionne concentrates on short, fast V2 strides at L3 intensity at the Far Hills Ski Center in Val-David, Quebec.
    Let the power come primarily from the legs and hips; the arms should dictate the pace. Author François Léger Dionne concentrates on short, fast V2 strides at L3 intensity at the Far Hills Ski Center in Val-David, Quebec.

    When doing V2 at low intensity, I noticed many skiers (often youngsters) tend to rely mostly on their upper body. Poor push-off from each leg usually isn’t a consequence of muscle weakness. It can simply be the result of a lack of muscle memory training.    One effective way to engage those leg and hip muscles (mainly: quads, glutes, tensor fascia latae, psoas, iliacus) is skiing without poles. Twenty to 30 minutes, broken down in sets depending on your level, will do the trick.

    When skating without poles, concentrate on keeping your balance and push off with the entire leg (from hip flexion to big toe propulsion). As much as possible, don’t use your upper body for momentum. Avoid over-rotation of the hips and keep your spine long and vertical.

    After a proper warmup, followed by a no-pole ski session, you’re ready for short uphill V2 bursts. The idea is to initiate proper leg and hip movements through no-pole skating at a comfortable pace, and using this muscle activation and awareness for V2 climbs.

    The basic workout:

    20 minutes warmup: low intensity V2 (with poles)

    20-30 minutes of no-pole skating (Level 1-2 intensity), broke down in sets of five minutes or more depending on your level

    15-20 X 30 seconds repeats of uphill V2 (L3 or threshold intensity) with 1 minute recovery between each rep.

    30 minutes cool-down

    Improving your ability to power through uphills using only V2 will not only make you a overall stronger freestyle skier, it will help your body tone with the fast pace of sprints. You may also increase your V2 speed at the foot of real steep climbs (before switching to offset) and at the top of them when forward momentum is at it’s lowest.

    Notes:

    • To make the no-pole session more challenging, you can extend your arms on each side (holding the middle part of your poles). This will help prevent hip over-rotation.
    • For the uphill V2 repeats, find a hill you would tend to climb in offset, yet is attackable using V2 only.